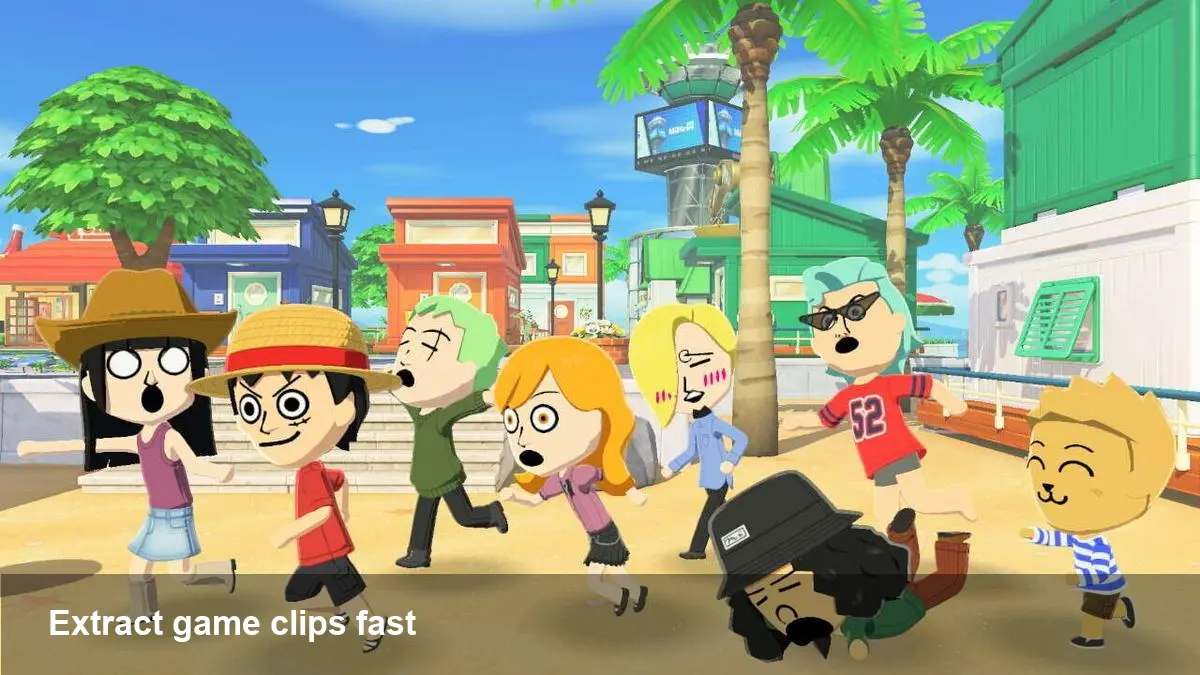
Extracting Tomodachi Life Clips From Your Nintendo Hardware

Why people want their game clips
Whether you recorded a bizarre Miito-produced skit, a perfectly timed faceplant, or a short cinematic from a life-sim like Tomodachi Life, getting that footage off the console and into your editing workflow or phone can be surprisingly fiddly. Nintendo platforms prioritize simple capture and social sharing, not raw file access — that design choice helps with stability and DRM but frustrates creators who want full-quality copies.
This guide walks through practical methods to retrieve short clips and longer videos from Nintendo hardware (Switch and legacy devices such as the 3DS), explains trade-offs, and shows when to bring a capture card or accept the built-in constraints.
Quick background: Nintendo’s capture model
Nintendo’s modern consoles are built around lightweight local capture: on the Switch you can save short video clips (usually up to 30 seconds for many titles) and screenshots; older handhelds like the 3DS required external capture hardware or homebrew for anything beyond screenshots. The Switch makes it easy to post clips to social networks or copy them to a microSD card, but it doesn’t offer one-click high-quality exports to your phone.
If you recorded something from Tomodachi Life (or a similarly whimsical title) on any Nintendo hardware, the correct extraction approach depends on the device, how long the clip is, and how much fidelity you need.
Method 1 — Use the console’s built-in microSD transfer (best for quick, legal transfers)
When you just want the shortest, official route and don’t need long or ultra-high-resolution footage.
Steps on Nintendo Switch:
- Insert a microSD card into the Switch if you haven’t already (or use the internal storage).
- From the Home menu go to System Settings → Data Management → Manage Screenshots and Videos.
- Choose the album and select the clips or screenshots you want, then copy them to microSD.
- Remove the microSD card and plug it into your PC or phone (with an adapter). Clips are stored as MP4 files in the DCIM folder.
Why use this: it’s simple, uses only official tools, and preserves the console’s captured file (good enough for many social posts). Downsides: length limits (many games only allow short clips), and quality is capped to what the Switch records.
3DS note: the original Tomodachi Life was a 3DS release. If you only have footage from a 3DS, you’ll need either a capture setup used at the time, or a homebrew solution — both are more technical and have legal/warranty considerations.
Method 2 — Upload to a social platform from the console and download (quick phone-friendly trick)
If you want a clip on your phone right now and don’t have a microSD reader handy.
- Use Switch’s sharing to Twitter or YouTube (where supported) directly from the Album.
- Once uploaded, open the Twitter/YouTube post on your phone and download or save the clip.
Pros: fast and works without extra cables. Cons: compression by the social network, potential cropping/size limits, and you expose the clip publicly (or to private account limits).
Method 3 — Use a capture card for full-length, high-quality recordings
If you’re a creator, archivist, or developer who needs full sessions, multiple takes, or editorial-grade footage, a capture card is the reliable choice.
What you need:
- A docked Switch and HDMI cable
- An external capture card (Elgato HD60 S/Pro or similar)
- A PC with capture software (OBS Studio, Elgato’s software)
How it works:
- Route the Switch HDMI through the capture card to your TV/monitor.
- Use OBS or the capture software to record unlimited-length footage, higher bitrates, and your chosen codec.
When to pick this: you want long-form content beyond the Switch’s clip length, lossless-ish captures for editing, or to record voiceover and webcam simultaneously. Downsides: hardware cost, setup complexity, and you’ll need to keep the Switch docked.
Method 4 — Homebrew and unofficial tools (power users only)
There are community tools and homebrew workflows that let you pull more data from Nintendo hardware — for example, extracting content from 3DS cartridges or automating transfers. These methods can be powerful, but they come with real risks: they may void warranties, violate terms of service, and run afoul of regional copyright rules.
If you’re technically experienced and willing to accept those trade-offs, the homebrew community has step-by-step guides. For most creators, the microSD + capture card combo is safer and legally straightforward.
Practical scenarios and recommended routes
- You recorded a 20–30 second Tomodachi Life gag and want to post it on Instagram from your phone: copy to microSD, insert microSD in your phone’s adapter, and upload.
- You’re producing a montage of several in-game scenes spanning minutes: use a capture card and record multiple takes, then edit in Premiere/DaVinci.
- You made a quirky private clip but can’t access a PC: upload to Twitter as an unlisted video, then download on your phone.
Tips for better quality and workflow
- Record at the highest bitrate your capture card or software allows. The Switch’s internal clips are heavily compressed.
- Keep a small external SSD or large microSD for storage if you plan to capture lots of footage.
- Use OBS scenes to combine webcam, capture, and overlays live — saves editing time.
- Label and timestamp files right away to avoid sifting through dozens of similar clips.
Broader implications for creators and Nintendo’s ecosystem
1) Short captures nudge spontaneous sharing, but creators will keep relying on capture cards for serious content. This split incentivizes Nintendo to make native sharing better — or risk losing creators to platforms that prioritize creators’ needs.
2) As niche life-sim content and user-generated amusements gain traction, easy archive/export tools become important for preservation and community culture. Communities that document and remix these moments are part of a game’s long tail.
3) Legal and platform risks matter: streaming and sharing systems will increasingly balance safety, copyright and creator control. Homebrew and unofficial workflows will still exist, but creators who want long-term reach and monetization should lean on legal capture pipelines.
If your goal is a fast phone-ready clip, the microSD route or a quick social upload will do. If you want to build polished videos, invest in capture hardware and a repeatable workflow — it’s the difference between a loose meme and a channel-defining piece of content.